
For the last couple of years I’ve been very fortunate to be invited along to Swinburne University to talk to the 3rd and 4th Year Students about the sleepless world of Post Production, and was lucky enough to be invited back again a few weeks ago. I always really enjoy chatting to the students at Swinburne, because having studied there, I can bring a lot of tips and tricks based around the gear they have access to at the University, and also offer advice from not only someone that works in high-end post production (as my “day job” is the Post Production Supervisor at The Butchery & The Refinery), but also someone who works on projects where everything is done run-and-gun and indie-style. I think this is really important, because although it’s nice tell people about jobs with big budgets and fancy cameras – the reality is that a lot of people straight out of University will have to do things with less money, and have to come up with creative ways to achieve the look they’re after.
If you haven’t seen my previous blog entries you can check out the 2010 one here, and the 2011 one here. Most of the things I covered in previous years are still completely relevant, so there’s no point writing them all down again here. However, I will post all the slides I used here, and offer links and additional information where relevant. As always, if you have any questions – feel free to just write a comment at the bottom of this page. Enjoy!
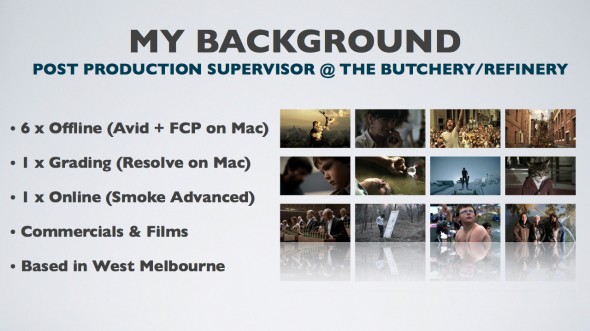
You can view The Butchery website here. You can view The Refinery website here.
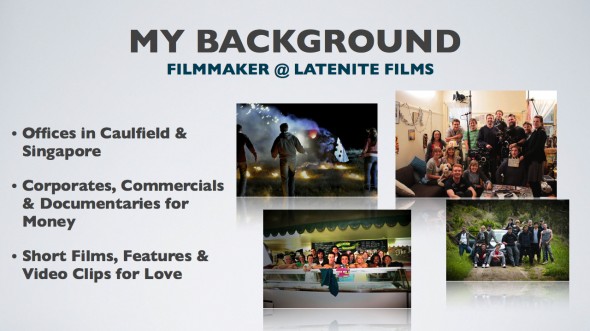
You can find about more about LateNite Films here.
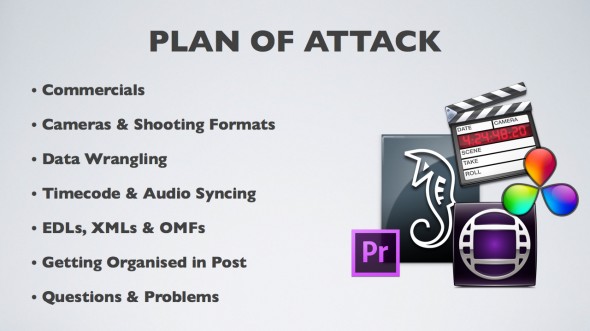
It’s funny – I did five 3rd year classes, and I think every one was different and covered different things. Some people were really interested in Colour Grading, so we fired up Resolve, others were interested in NLE options, so we fired up Final Cut Pro X – each class really differed, which is great, as I could tailor things to topics that people were actually interested in!
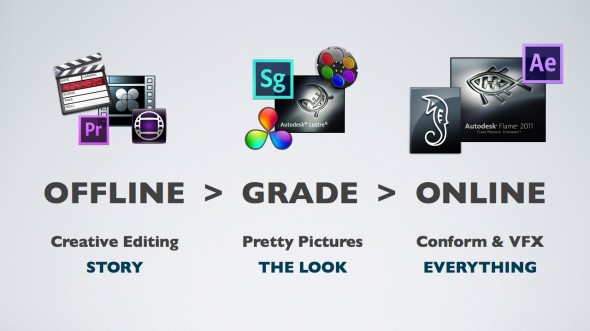
Read about the history of Offline Editing here.
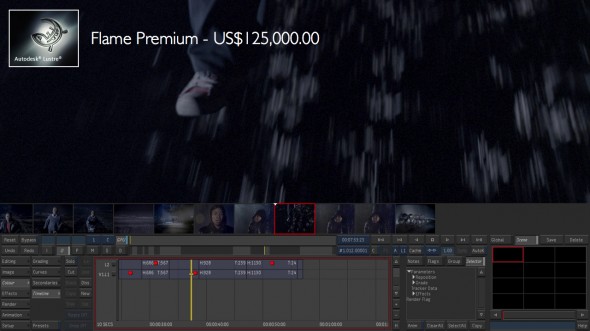
You can find out more information on Flame Premium here.
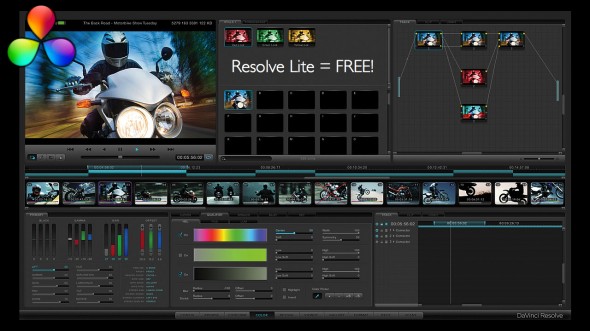
The free DaVinci Resolve Lite includes the same high quality processing as the full DaVinci Resolve with unlimited color correction nodes, however it limits projects to SD and HD resolutions, a single processing GPU and a single RED rocket card. Stereoscopic 3D features, 2K, noise reduction, power mastering, remote grading and sharing projects with an external database server are features only offered in the full DaVinci Resolve and are not included in this free DaVinci Resolve Lite edition. You can find out more information on Resolve here.
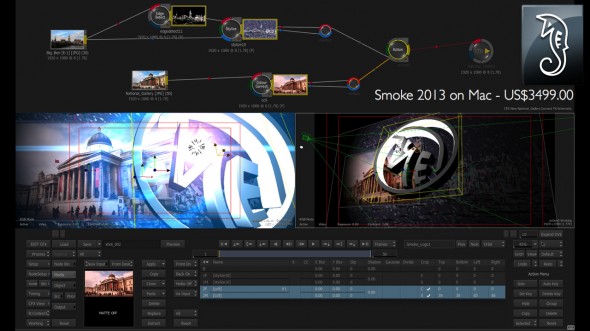
The all new Autodesk Smoke 2013 professional video editing software connects editing and visual effects like never before. Smoke is the professional choice for all-in-one video editing and effects on the Mac. By integrating familiar editing tools and node-based compositing directly into the timeline, Smoke is revolutionizing video post-production. Save time from complex multi-application workflows by having all the tools you need at your fingertips so you can focus on being creative. You can find about more about Smoke as well as download the free Public Pre-Release (which works until December) here.
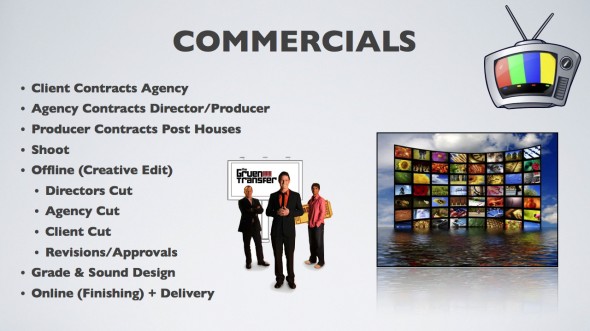
If you haven’t already it’s worth reading through my blog entry from two years ago in regards to Commercials.
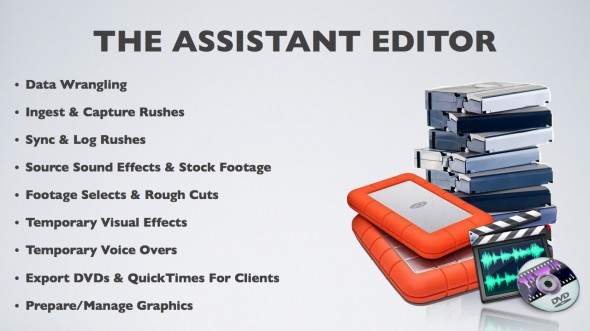
If you haven’t already it’s worth reading through my blog entry from two years ago in regards to the role of the Assistant Editor.
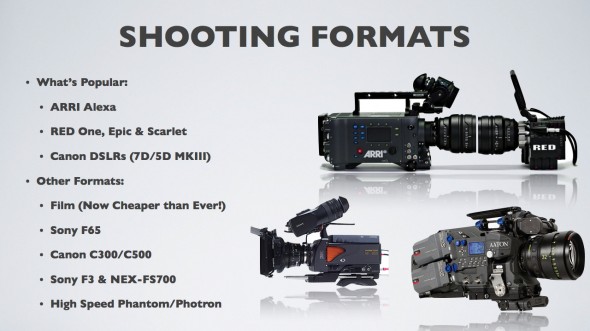
Camera Links:
- ARRI Digital Cameras
- RED
- Canon DSLR
- Sony F65
- Canon C300
- Canon C500
- Sony F3
- Sony FS-700
- Vision Research High Speed Phantom Cameras
- Photron High Speed Camera
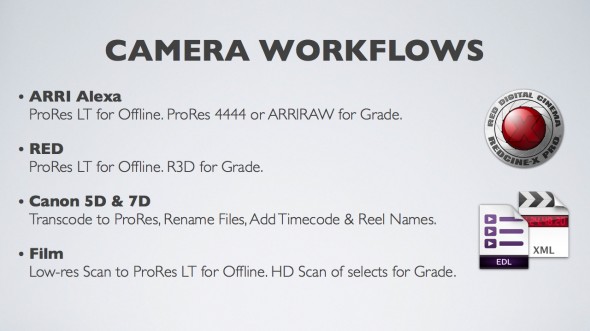
Above is some suggestions as to what workflow I would use given the gear you have access to at Swinburne.
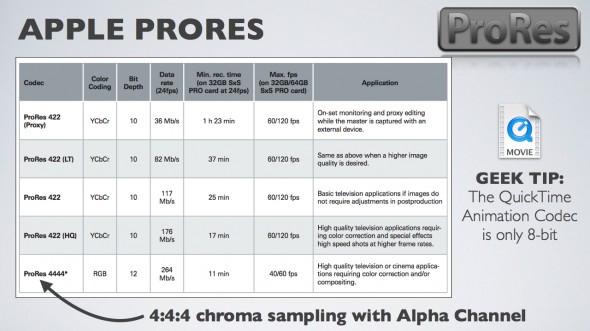
You can read more about the different types of Apple ProRes here.
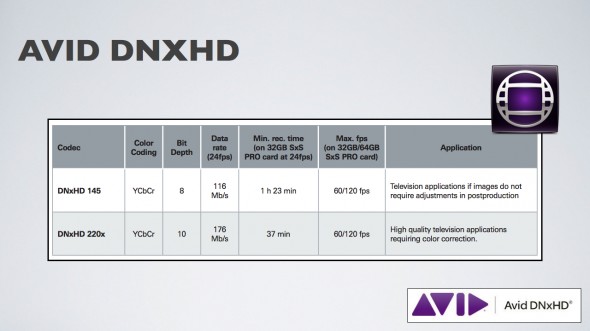
You can read more about the Avid DNxHD Codec here.
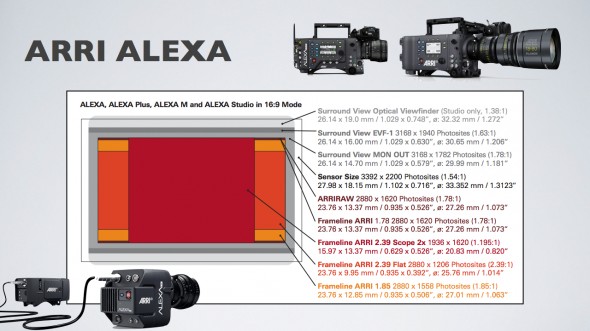
You can download heaps of really useful Alexa information here.
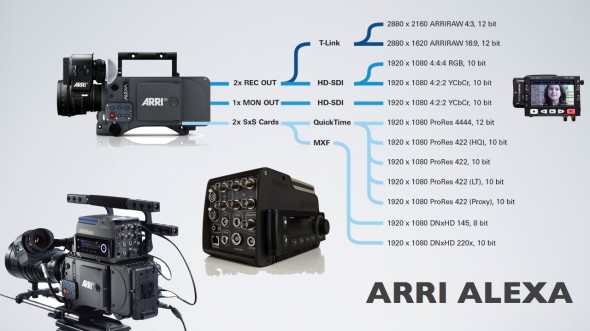
You can read more about the ARRI RAW Codex Recorder here. Gear Head in Melbourne hire out the ARRI RAW Codex Recorder.
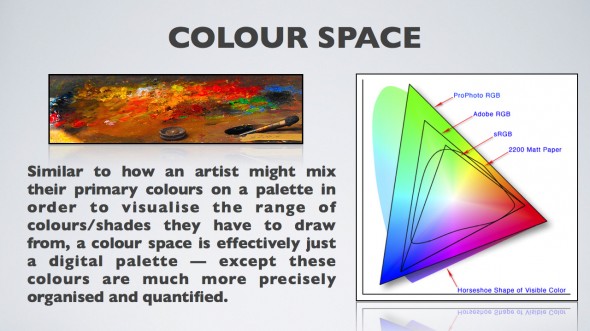
Here’s some useful links on the topic of Colour Space:
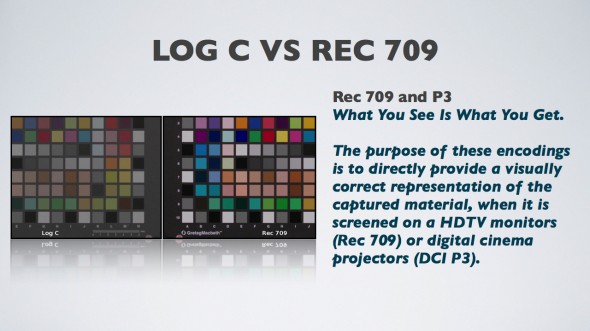
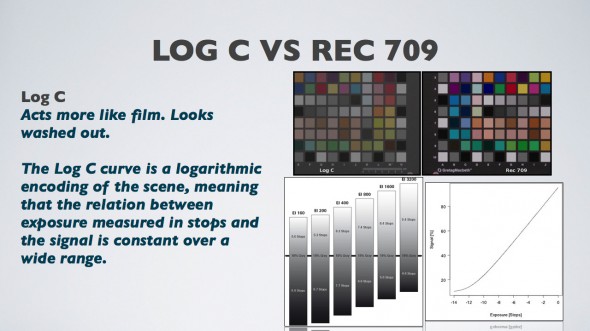
Here’s some useful links on the topic of Log C:
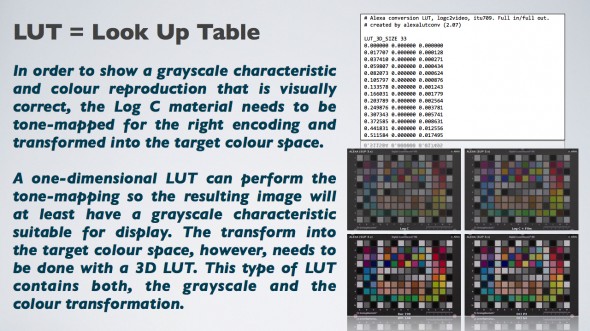
A LUT or ‘Look Up Table’ simulates what colour output will look like. It is mainly used for communicating between colour systems that don’t have another way of talking. Here’s some useful links on the topic of LUTs:
Magic Bullet LUT Buddy is a professional tool that generates Look Up Table (LUT) data within the host apps After Effects, Premiere Pro, Final Cut Pro and Motion. In a simple operation, the LUT can load into almost any color correction system, from Apple Color to FilmLight Baselight to DaVinci Resolve. The LUT can also render in hardware devices like Panasonic or Sony displays for previewing a color correction on the device. Because it lets all artists share the same color correction data, LUT Buddy truly bridges the gap from desktop apps to high end systems and hardware boxes. You can download LUT Buddy for free here. It’s also worth checking out the LUT Buddy FAQ.
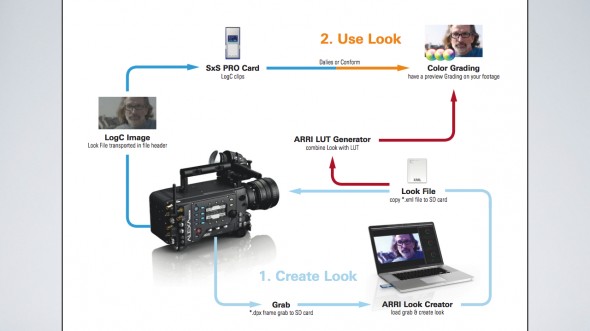
You can read more about the ARRI Look Creator here.
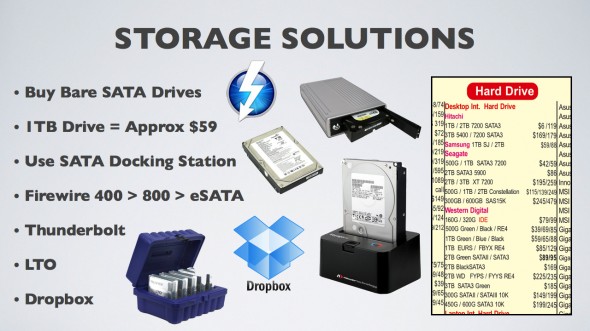
If you haven’t already it’s worth reading through my blog entry from last year in regards to Storage Solutions.
I also recommend backing up all of your Project Files to an online/cloud service such as Dropbox. What you can do if you have a decent Internet connection is set your Final Cut Pro Autosave Location to Dropbox, and then that way your auto-saves can stay with you wherever you go. For those that are really geeky – you can even hack things together so that your Smoke 2012 data is all stored on Dropbox – read more here.
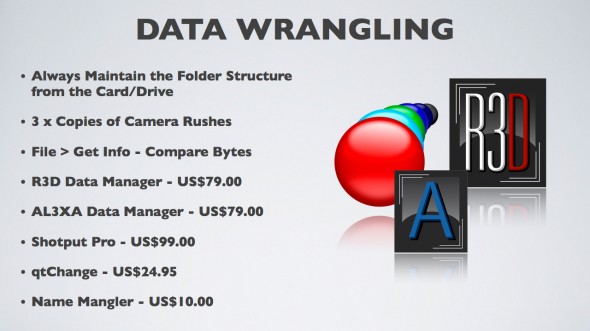
Helpful Articles:
Handy Software:
- R3D Data Manager – Data Wrangling for RED
- AL3XA Data Manager – Data Wrangling for Alexa
- Shotput Pro – Data Wrangling regardless of Camera
- qtChange – Allows you to modify timecode and reel information in Quicktimes as a batch
- Name Mangler – Allows you to quickly and easily modify file and folder names in a batch
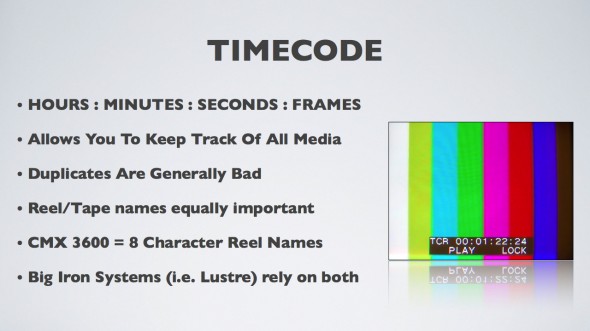
If you haven’t already it’s worth reading through my blog entry from two years ago in regards to Timecode.
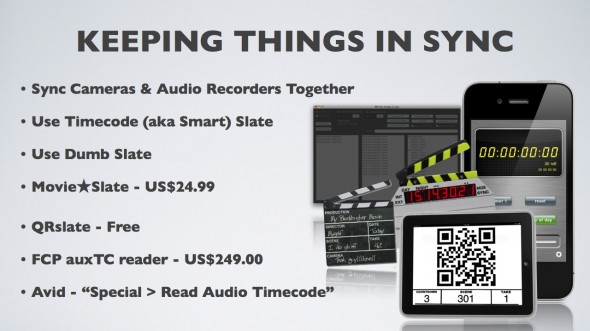
Worth Watching:
Handy Tools:
- MovieSlate – Cheap iPad App
- QRslate – Slightly less helpful than the MovieSlate, but a really cool concept and free
- FCP auxTC Reader – allows you to read useable timecode off the audio track of your camera
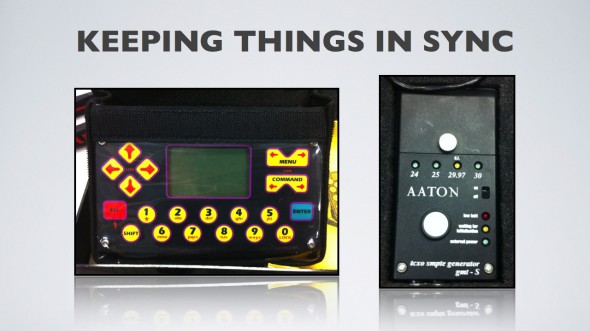
If you’re a current Swinburne student looking at this blog – this slide contains information very handy to know! Swinburne actually has a couple of different timecode generators in the hire inventory – so it’s very much worth having a chat to Dennis, Niall or Elvis about how you can use these tools to create a more seamless workflow.
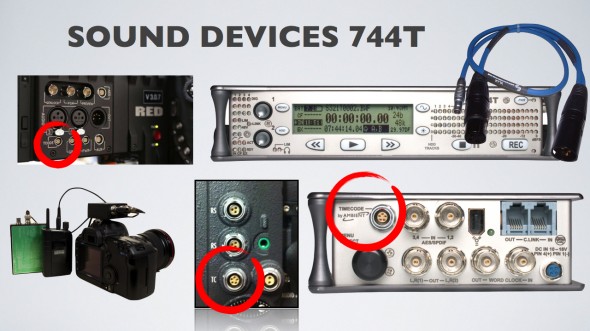
You can learn more about the Sound Devices series of audio recorders and mixers here.
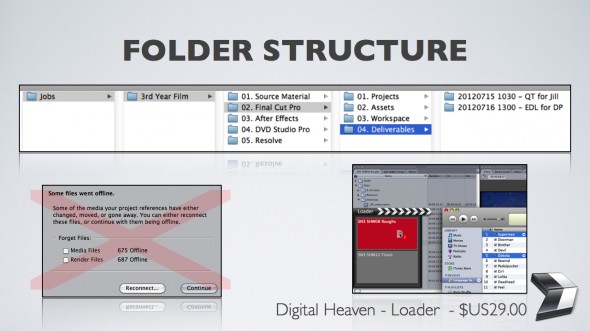
For those still using Final Cut Pro 7, I recommend checking out Loader by Digital Heaven – a smarter way to import music, sound effects, graphics and movies.
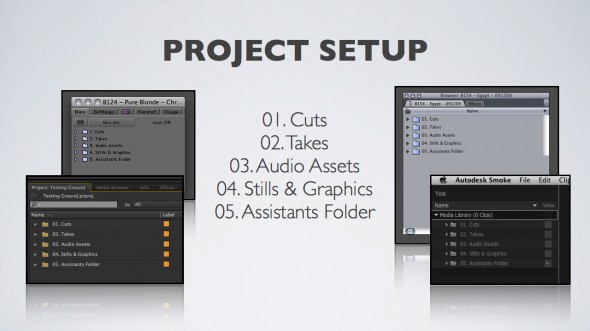
Above is the bin structure I use, regardless of the NLE.
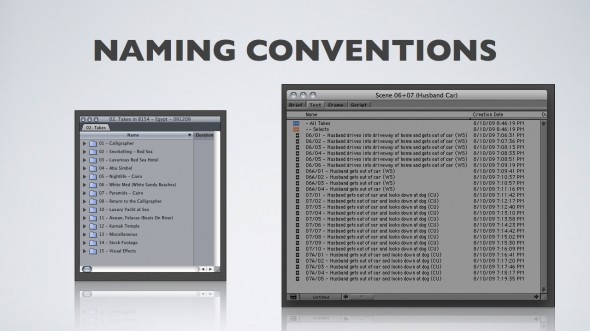
It really doesn’t matter what you label things within your NLE – as long as it’s organised!
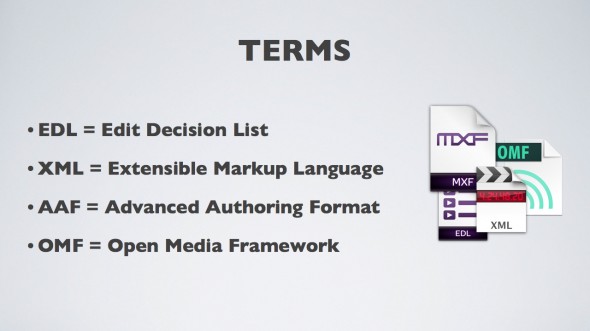
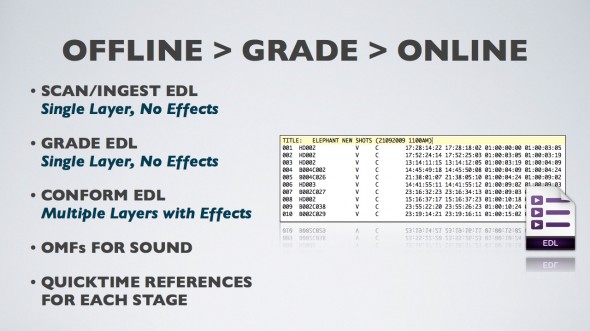
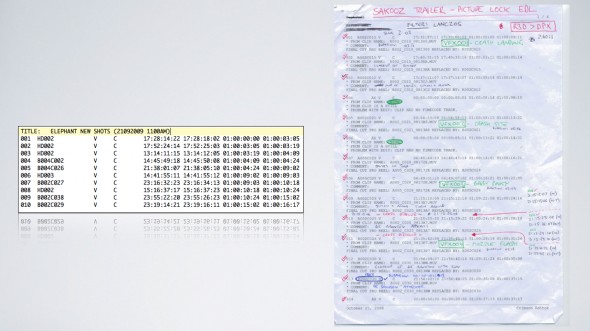
If you haven’t already it’s worth reading through my blog entry from two years ago in regards to exporting EDLs and OMFs. This is basically where we wrapped up for the 3rd Year Students. However, with the 4th Year Honor Students we continued on with a detailed discussion of Festival Deliverers concentrating especially on DCPs…
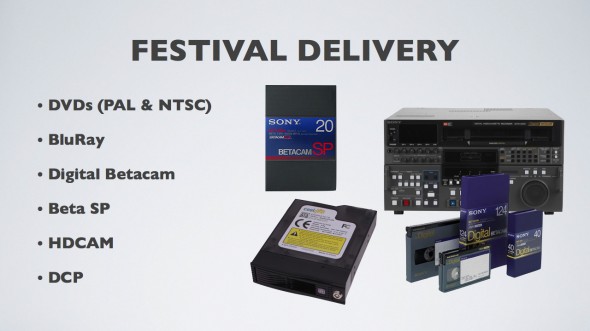
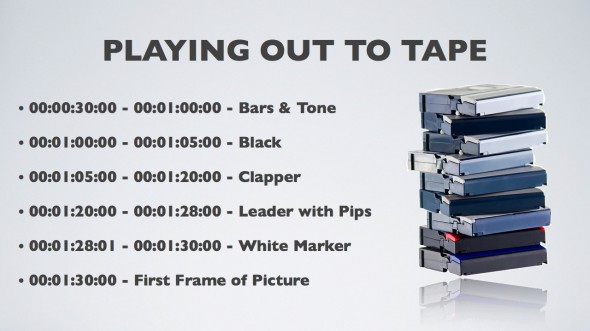
Wherever possible, if you’re getting your footage transferred, scanned, graded or onlined externally (i.e. at Digital Pictures, Method Studios, Roar Digital, Crayon, etc.), then it’s always a good idea to get them to bundle a deal together that includes any festival deliverables you think you’ll need – such as Digital Betacam or HDCAM.
FATS Digital in South Melbourne is also a great place to go if you need to play out your film to Digital Betacam or HDCAM. For DCPs, we normally recommend giving Rodney at JORR Intergrated Film and Television Solutions a call – however Digital Pictures, digitAll and FATS also offer a DCP service.
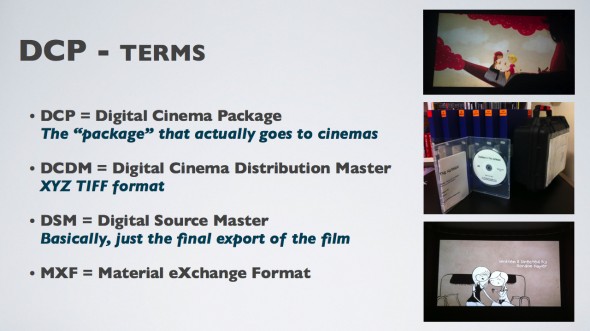
For more information on DCPs check out the Wikipedia Article.
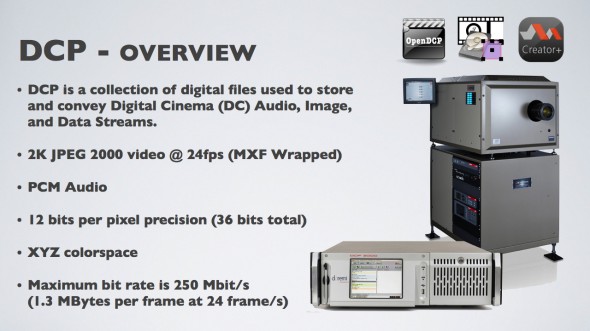
DCP Software:
- OpenDCP – Free open source tool for creating DCPs. It’s still in Beta – so it’s not perfect, but works for most purposes.
- easyDCP Creator – Fantastic solid and reliable software for creating DCPs, but it’s expensive.
- easyDCP Player – Fantastic tool which allows you to play back DCPs – but expensive. However, it does have a free Demo mode that allows you to watch the first few seconds of a DCP, which can be very handy.
- There’s also a great list of DCP Software on the Wikipedia page.
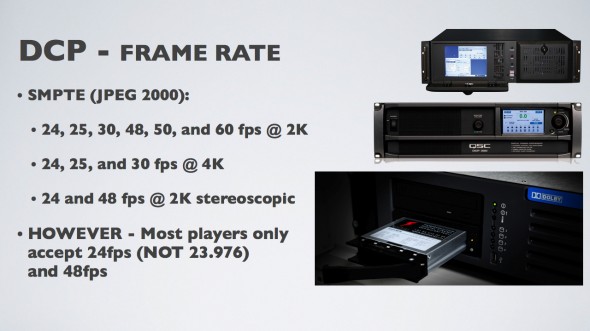
Things to Read:
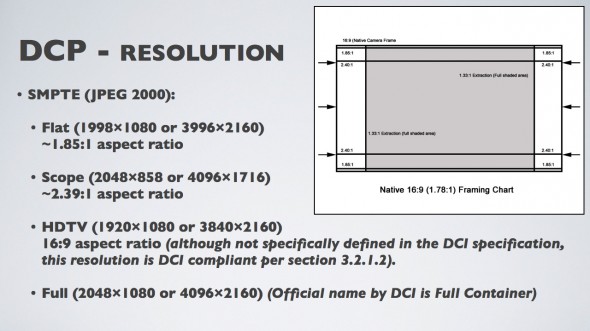
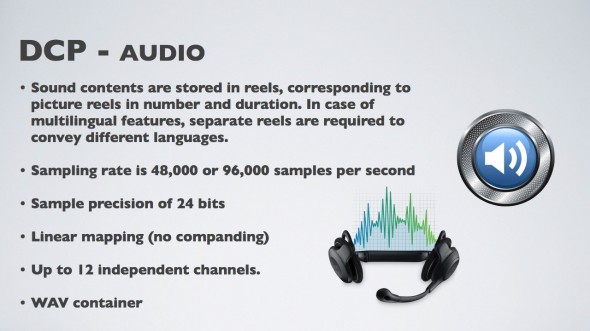
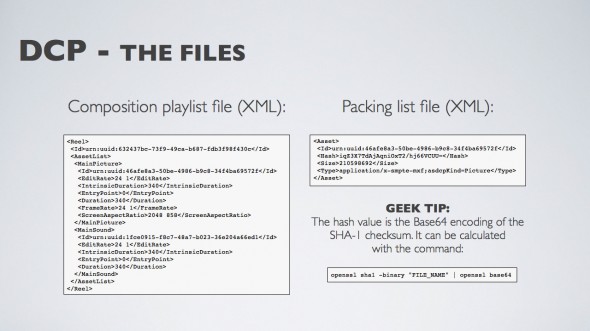
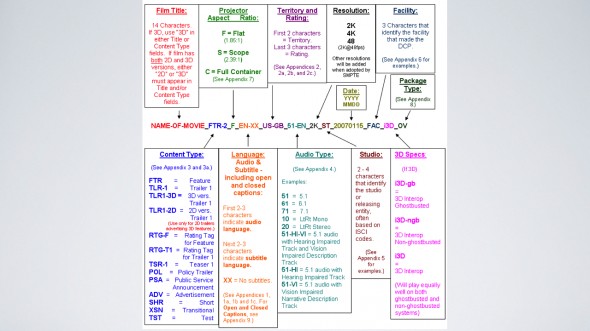
All the information you need on Digital Cinema Naming Conventions can be found here.
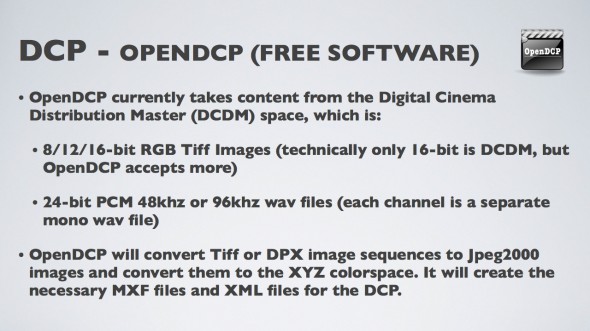
Helpful Articles:
- Digital Cinema Package Tutorial
- Make a Digital Cinema Package for Cheap with OpenDCP
- How to make a DCP
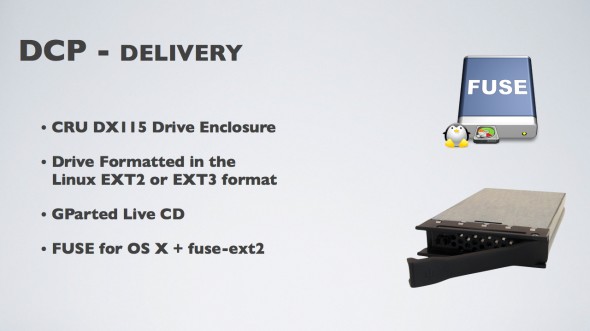
A CRU drive is a SATA-II hard drive enclosed in a DX-115 hard drive carriage. Originally designed for the military, the DX-115 is now used by the film industry in D-Cinema for its proven reliability and sturdiness. Certain film festivals and facilities require this drive for DCP delivery and it is highly recommended for feature films formatted in 4K, 3D or High Frame Rates. You can find more information here.
Helpful Article:
I always like to remind students that you can get a free 30-day trial of Media Composer off the Avid website – and there is also really fantastic educational prices when purchasing Media Composer. Given that Media Composer is still pretty much the industry standard at major offline editing facilities – it’s a really important tool to learn. Basically, now days, if you want to work in high-end post production you really need to know Final Cut Pro 7, Avid Media Composer and Adobe Premiere.
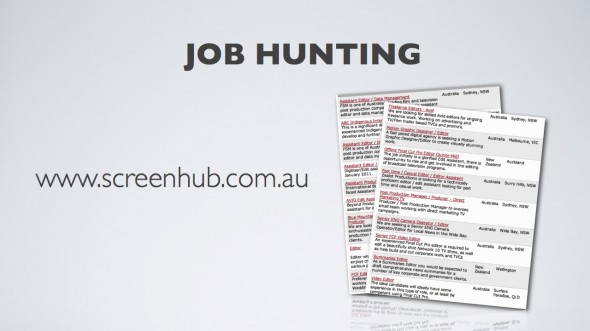
Finally, I always recommend keeping an eye on Screen Hub for jobs in Post Production in Australia – it’s a great resource. Hopefully this blog post is of some help! As always, if you have any questions, or if any of the above isn’t clear, feel free to let me know via the Comments section below.
Onwards & Upwards!
Best Regards, Chris!